Creating a new database
First thing you want to do before installing MTDb is to create a new database on your mysql server. If you already know how to do this/or have already created one just skip to the next step.
Your host will most likely be running phpMyAdmin as mysql manager, if that's the case here's a step by step guide (if not the proccess will be very similar on other managers).
Login to your control panel, find and click phpMyAdmin link: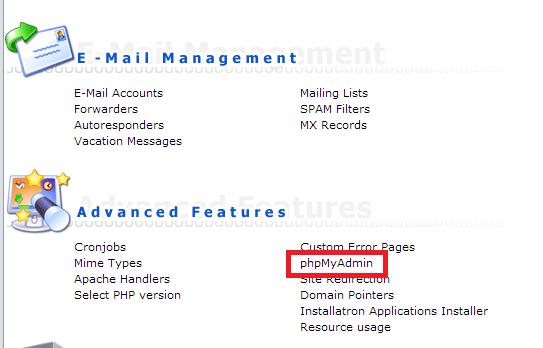
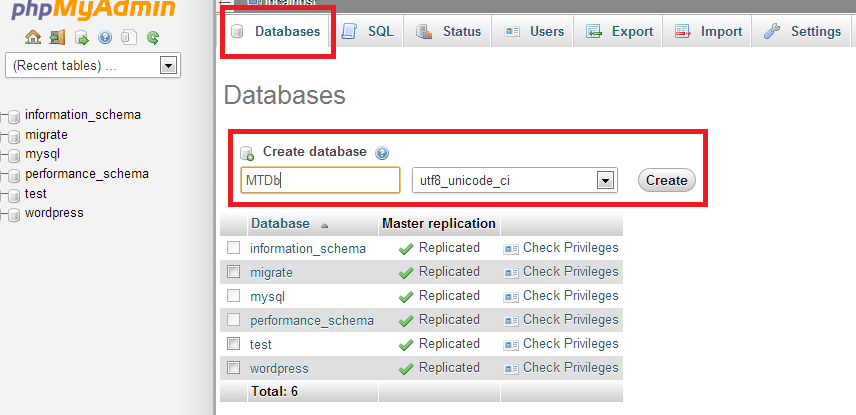
Click on the database tab in the top menu, enter any name you like and click create.
Uploading Files
After creating a database, unzpip the .zip file you donwloaded from CodeCanyon and upload the contents of website folder to your server's root folder (usually called www or html or something similar) or a sub-directory.
Shared hosting providers usually have a web based file manager, but you should use something like Filezilla to do the upload as the web based managers can cause various problems fairly often.
Make sure that storage and all the sub-folders are writable by your server (have 777 permissions if you are on shared hosting). You can change files and folders permissions by right-clicking them in the filemanager, clicking file permissions, and then entering 777 in the permissions field.
Optional. Point your domain or sub-domain to "public" folder inside mtdb directory instead of mtdb directory itself. While this is optional, you should do it if possible to increase security and potentially avoid issues on some servers.
Installing MTDb
After you uploaded MTDb files, simply open up your site url and follow on-screen instructions to finish the installation.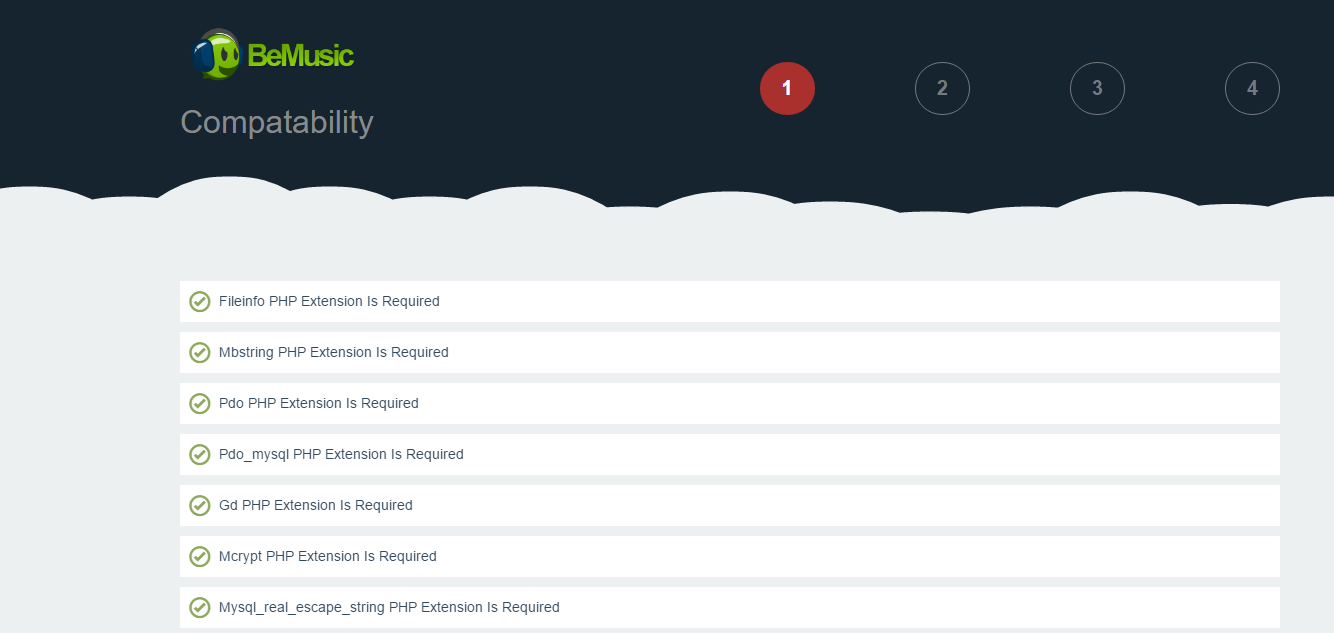
Updating from version 2.9.4 or earlier:
With version 3.0 mtdb has been fully re-written, essentially it's now a different application to prior versions. This means that updating from versions prior to 3.0 is a bit more difficult.
If you don't need to keep data from older versions (users, links, watchlists etc), easiest way would be to remove old version completely and install fresh copy of 3.0
If you do want to migrate data from older versions, please follow the steps below: (If you don't want to loose production time, we'd recommend making a duplicate of your current site and updating that, instead of updating a live site directly.)
- Make sure you have at least PHP 5.6 on your server.
- Backup current mtdb database via phpMyAdmin or similar tool. (IMPORTANT!)
- Backup current mtdb files. (IMPORTANT!)
- Delete all files and folders inside old mtdb directory on your server.
- Extract the .zip file you downloaded from CodeCanyon.
- Upload the contents of "website" folder to the old mtdb folder on your server.
- Copy image files from avatars folder from old mtdb directory you have backed up, into public/storage/avatars folder.
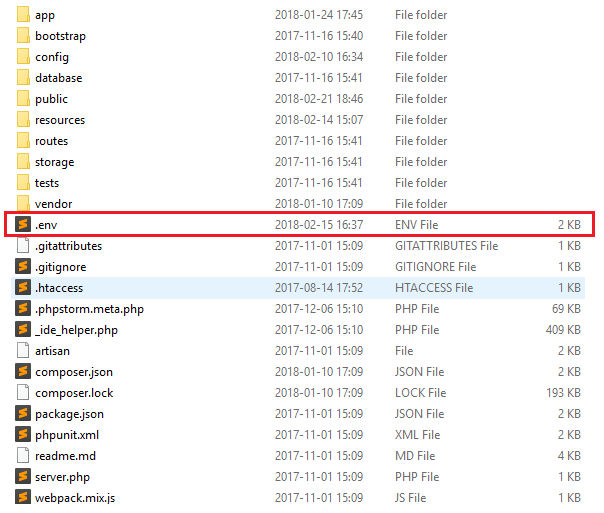
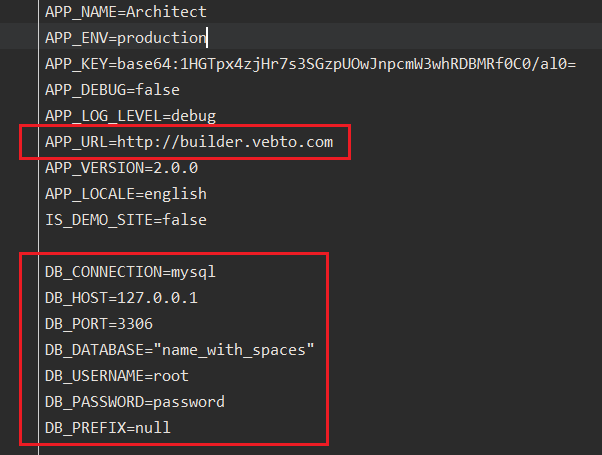
- Rename .env.example file inside mtdb directory on your server to .env
- Enter your database details and site url inside .env file.
- if your database credentials contain stapces, surround them with double quotes. For example DATABASE_NAME="name with spaces"
- Visit http://yoursite.com/secure/update url and click Update Now button. (make sure you are logged in as admin)
Updating from version 3.0.0 or newer:
- Extract the .zip file you downloaded from CodeCanyon.
- Upload the contents of "website" folder to the main MTDb folder on your server.
- Visit http://yoursite.com/secure/update url and click Update Now button. (make sure you are logged in as admin)
client folder inside the .zip can be ignored, unless you plan to modify MTDb code.
Social Login
In order for social logins to work properly, you will need to register for an application on their respective sites and enter the credentials you receive into admin area > settings > authentication page.
- Register for regular facebook account, if you don't already have one.
- Open this url, click my apps in the top navigation bar, then Add a New App
- Enter any display name, your email address and click Create App ID
- Click Add Product in the left sidebar, then Facebook Login, select Web, enter your site url. You can ignore the rest of the panels in quickstart wizard.
- Click Facebook Login > Settings and enter http://your-site-url.com/secure/auth/social/facebook/callback into Valid OAuth redirect URIs field.
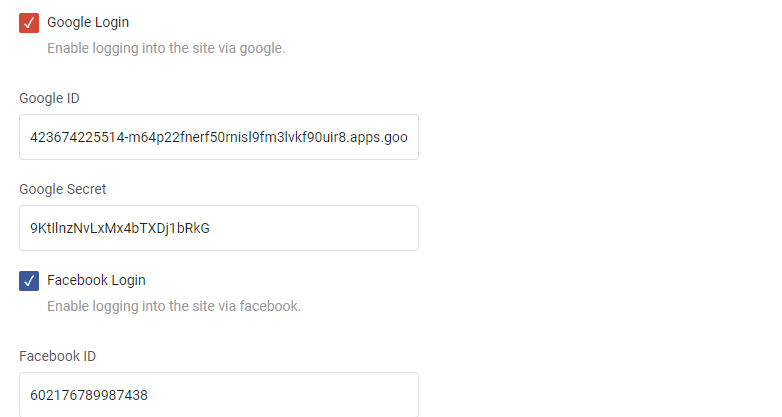
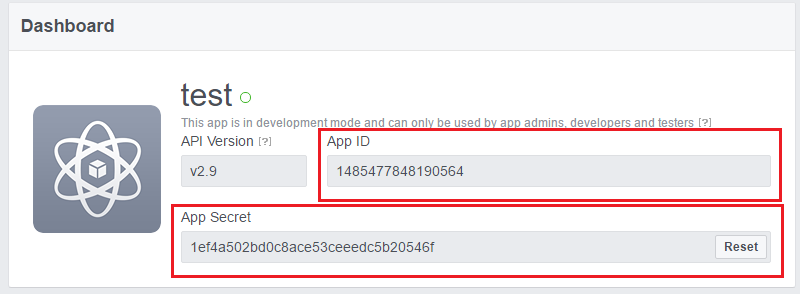
- Click Dashboard in left sidebar and copy/paste APP ID and APP SECRET into settings page.
- Register for regular twitter account, if you don't already have one.
- Open this url, click Create New App, enter anything into name and description fields, enter your site url into Website and Callback URL fields and create the app.
- Copy Consumer Key and Consumer Secret from "Keys and Access Tokens" tab into settings page.

- Register for regular google account, if you don't already have one.
- Open this url, create a new project, click Credentials in left sidebar, select Oauth Client ID -> Web Application.
- Enter http://your-site-url.com/secure/auth/social/google/callback into Authorized Redirect URIs field and click Create.
- Copy/paste Client ID and Client Secret into settings page.

Homepage
In order to populate the homepage, you need to attach lists that you want to display on homepage from "admin > appearance > homepage".
You can make each list update automatically when creating or editing it.

Import (Scrape) Multiple Titles
You can import multiple titles by visiting this url: htts://your-site.com/secure/tmdb/import?type=movie&page=1&limit=100
You can change type to movie or tv, maximum number for limit is 1000

You can also specify all filters described here, for example, to only import movies with specific genres, you can use this url: htts://your-site.com/secure/tmdb/import?type=movie&page=1&limit=100&with_genres=28,48
Automatic Update (Cron Jobs)
You need to set up a cron job on your server so MTDb can perform some scheduled tasks (automatically updating news, lists etc.).
You can usually create cron jobs from your hosting's cpanel. You should create a cron job that calls the command below every minute.
php /path/to/mtdb/artisan schedule:run >> /dev/null 2>&1
Note that news and lists will only be updated once a day, regardless of how often cron job runs.
Outgoing Mail
Outgoing mail includes all emails that are sent from your application to the user. Password reset, user confirmation, notifications and more.
In order for outgoing mail to work, you will need to configure it in admin area > settings > mail page.
Unless you already have one of the other available mail methods set up, we highly recommend using mailgun. It's free for up to 10000 emails a month and you will avoid many of the problems associated with traditional SMTP servers.
Mailgun
Although you are not required to add a credit card for mailgun, it's recommended that you do, because you will be put on a lower priority queue without a credit card, which could result in slower email delivery.
- Register here
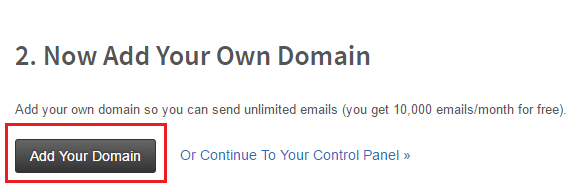
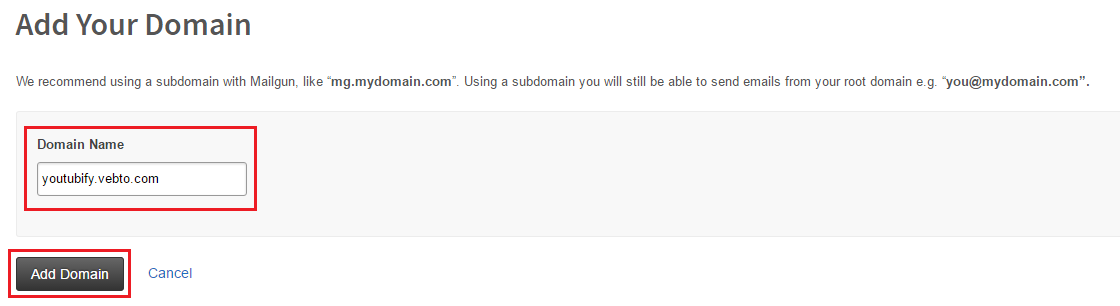
- In the next page click Add Your Domain button, then enter your site url in the Domain Name field and click Add Domain
- Verify your domain on mailgun. This will differ depending on your hosting, but you should be able to find a guide in your hosting providers documentation, mailgun documentation or simply via google search.
SMTP
If you want to use SMTP, go to admin area > settings > mail page and simply enter your smtp server credentials.
Analytics
Registering for google analytics account
Analytics page is powered by google analytics so you will need to register for google analytics and add supplied code to your site. Here's how to do it.
Important! This will only enable tracking. See below on how to get the analytics page on the site working.
- Go to this url. You will be prompted to login to your google account or create a new one if you don't have it already. Do it.
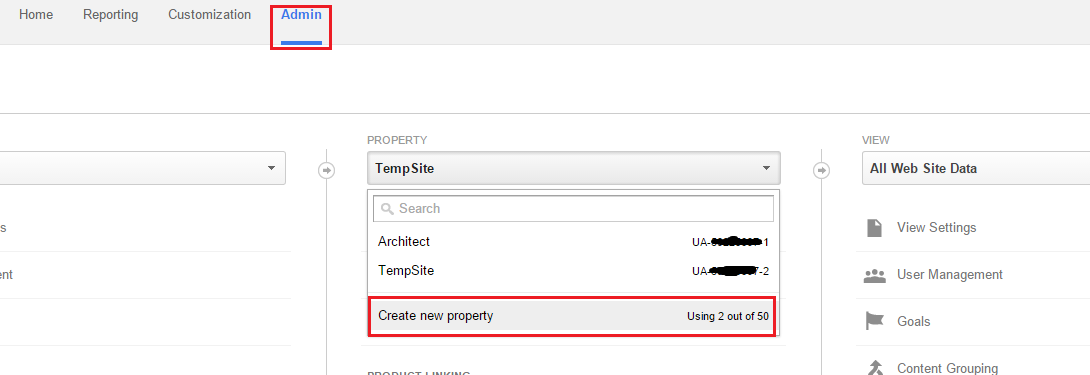
- Click on Admin -> Property -> Create new Property -> fill out required fields -> click on get tracking ID
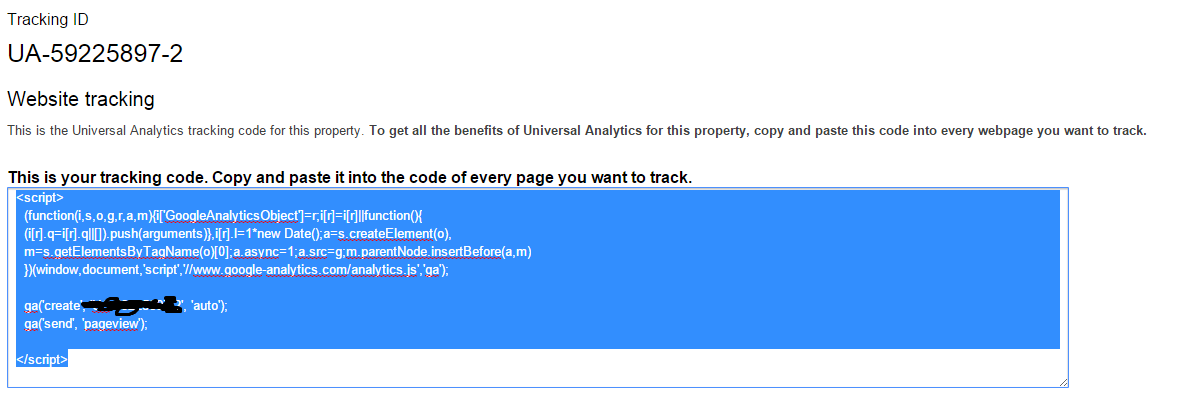
- Go to admin -> settings -> analytics and paste the code into google analytics tracking code field (only paste in the code that starts with UA, not the whole script).
Getting Service Account Key
To get analytics page on the site working, you will need to get a service account key. Head over to Google API's site and create or select a project.
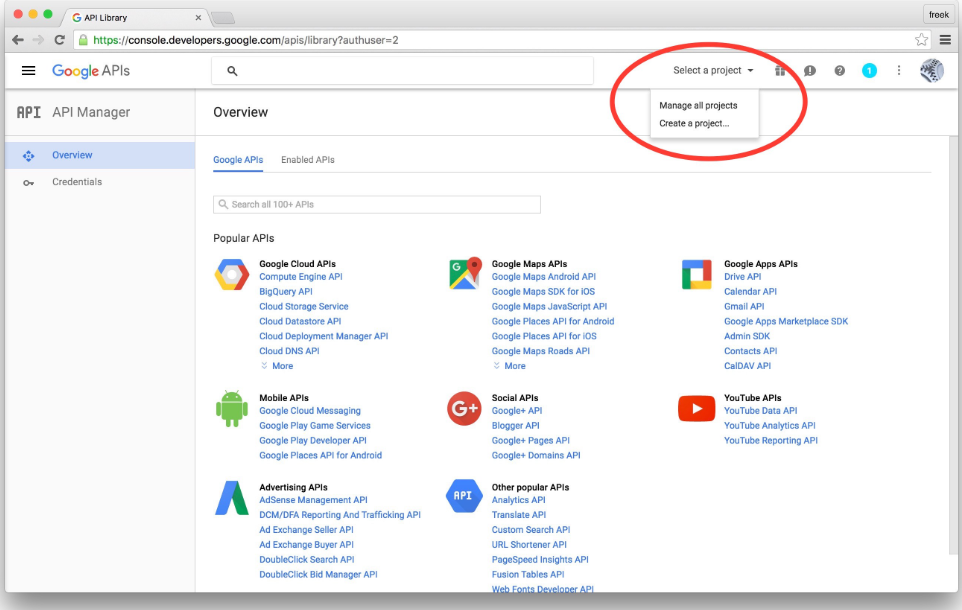
Next, specify which API's the project may consume. In the list of available API's click "Google Analytics API". On the next screen click "Enable".

Now that you've created a project that has access to the Analytics API, download a file with the credentials. Click "Credentials" in the sidebar. You'll want to create a "Service account key".
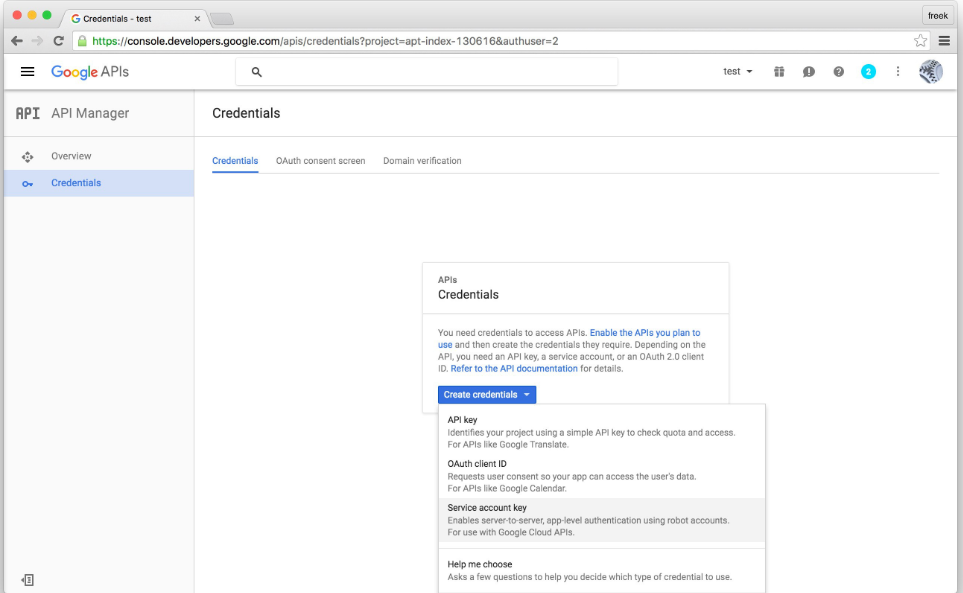
On the next screen you can give the service account a name. You can name it anything you'd like. Select "Project > Owner" Role. In the service account id you'll see an email address. Note this address as it will be needed later on. Select "P12" as the key type and click "Create" to download the P12 file.
Rename downloaded file to "certificate.p12" and upload it to your server in "storage/laravel-analytics" directory.
Granting permissions to your Analytics property
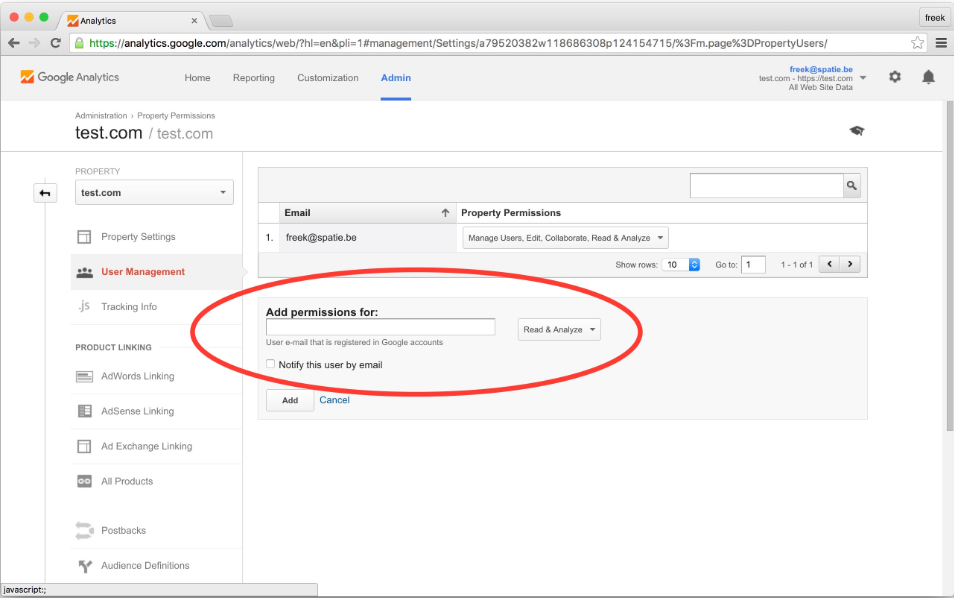
Go back to google analytics site and "User management" page in the Admin-section of the property.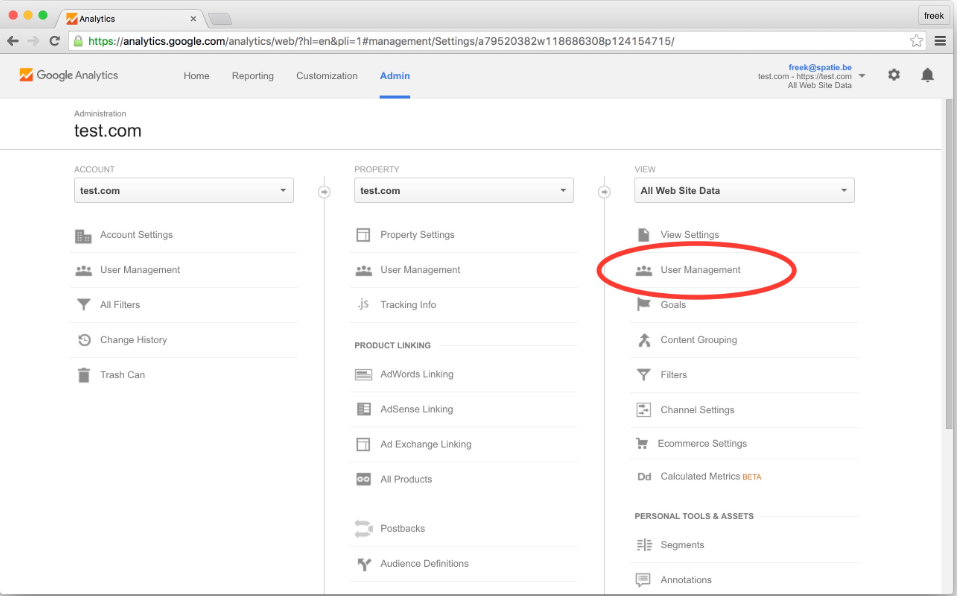
Add a new user using email address you have saved earlier. Read only access is enough.
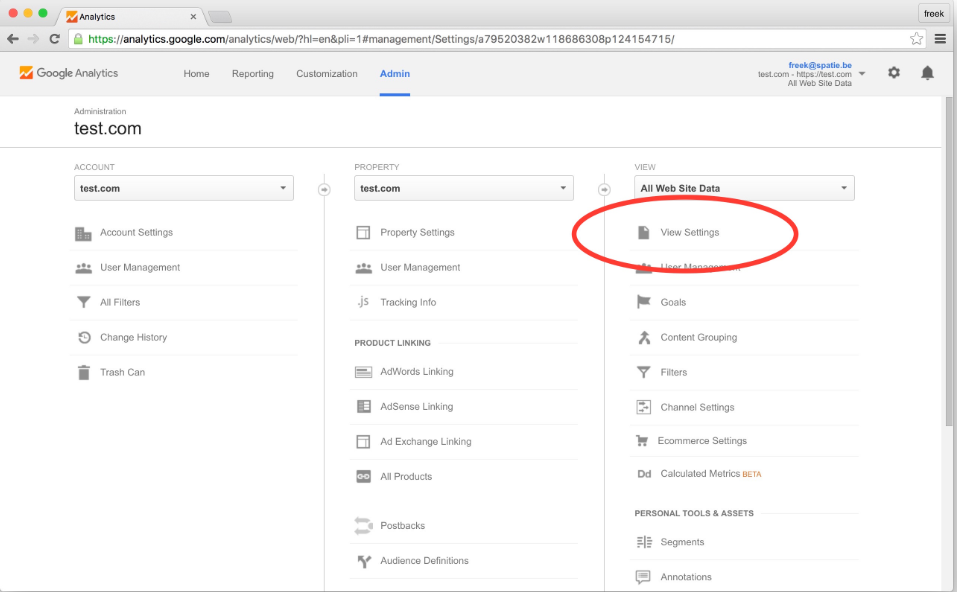
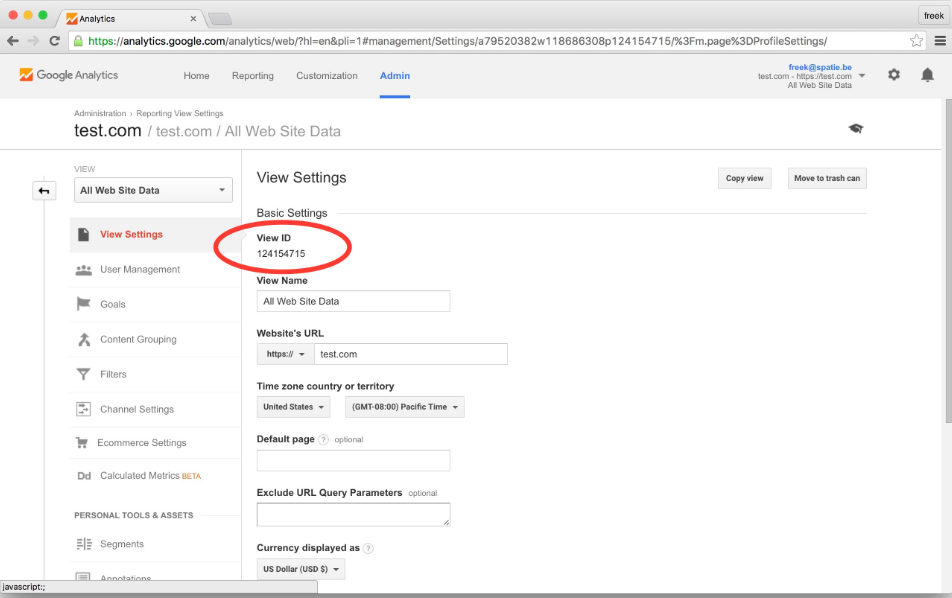
Getting the view ID
The last thing you'll have to do is fill in credentials in BeDrive "admin > settings > analytics" page. You have service email and google ID from earlier, get View ID from "View setting" in the Admin-section of the property.
Translations
You can translate MTDb right from the admin area so there's no need to mess with configuration files or 3rd party applications. Simply open translations page and enter your translation for a particular line under translation column in the table.
Note that while you can translate the original (englsish) locale, it is recommended to create a new one (frome the panel on the left) so you don't need to worry about overwriting it with future updates.
「一键投喂 软糖/蛋糕/布丁/牛奶/冰阔乐!」
 e2c
e2c
(๑>ڡ<)☆谢谢老板~
使用微信扫描二维码完成支付